Shopify is one of the popular website platforms. In fact, according to KonstructDigital.com, Shopify holds 20% of the market share of all eCommerce platforms on the internet. More than a million Shopify shops are up to date and have more than 500,000 active stores online. What makes Shopify a top choice for online entrepreneurs and business owners is user-friendly and easy to set up.
If you plan to create a website on Shopify, then here’s a guide that can help you start:
How to Start Your Website Using Shopify
- Set the goal of your website.
- Start your website on Shopify.
- Choose your web hosting.
- Buy a custom domain name.
- Pick a layout.
- Create relevant pages.
- Add a payment method.
- Publish and test your website.
1 – Set the goal of your website.
Before you start your website, you must know your goals. It gives you a long-term vision to help you plan and manage your resources to create the best website for your target audience.
For example, you want to create a website for your business to sell your physical or digital products. Perhaps, you want to have your own website to increase your brand identity and reach more audiences by growing your online presence.
Make sure to set a goal and list it down. This way, you will know how to plan and target small steps to reach your main goal.
2 – Start your website on Shopify.
To start with Shopify, go to their website and start a free 14-day trial by clicking this link. Shopify is one of the most accessible website platforms that allows you to create a website for your business.
Shopify also has 70 premium and free e-commerce templates you can choose from. Each template is designed to help bring in visitors and turn them into potential customers. Every theme also has its own settings, which you can easily customize to your own taste.
And the best thing about Shopify is you don’t need to learn how to code to create and start your own website.
3 – Choose your web hosting.
Every website needs a web host. A web hosting makes space on its server for your website, which a provider offers. A web hosting service makes the files on your website, such as code, audio, images, or videos, visible to your online users.
With Shopify, you don’t need to worry as they have their own website hosting plan. Shopify’s hosting plan features unlimited bandwidth, so you don’t have to worry about increasing traffic. It also has a hassle-free setup. Shopify will help and show you how to set up your own store so you can create it within seconds after you sign-up.
Shopify’s hosting plan also has blazing fast servers which your customers can access quickly. It also has Level 1 PCI compliance, so you can make sure that your customer data is always safe and secure.
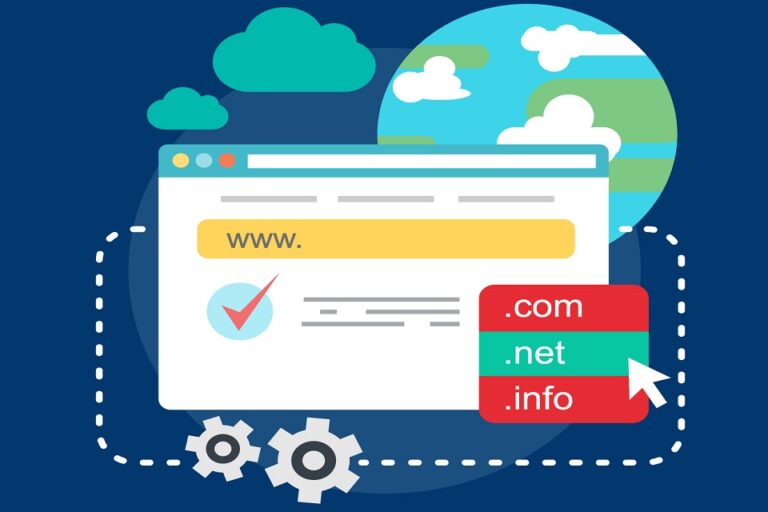
4 – Buy a custom domain name.
Another crucial decision you need to start your website is choosing your domain name. Your domain name refers to your digital address so people can find you online. It gives your business credibility and will help you appear on search results from search engines like Google.
You can customize your domain name, so it is easier for your customers to remember your brand and find your business online.
When choosing or customizing a domain name, remember to keep it short and memorable. Never use hyphens or numbers. Use a top-level domain such as those ending in .com. And if possible, include your target SEO keywords on your domain name.
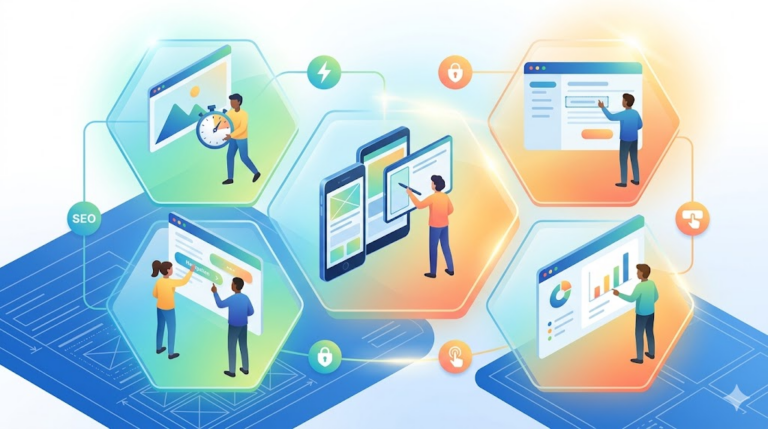
5 – Pick a layout.
Now that your web hosting is up and that you have your domain name, it’s time to choose a layout for your website. Shopify offers premium and free themes you can install in your online store. Each theme from Shopify has its own styles and features. They are created by known web designers such as Pixel Union, Clearleft, and HappyCog. Each of these themes is high-quality and user-friendly, and is customizable.
Feel free to test different themes for your website before choosing one. And remember that you don’t need to stick with a theme forever. You can change it in the future and install a new one without the need to create all of your web pages.
And suppose ever you need help to further customize your Shopify store. In that case, you can hire a web development agency like Cybertegic. We are a digital marketing company in Los Angeles that can help you create a Shopify store that converts visitors to sales and grows your business.
6 – Create relevant pages.
Each website needs relevant pages to run. But remember that the relevant pages on your website may be different depending on your industry. For example, if you build a retail website, you need product pages and category pages. While if you’re building a website for your restaurant, you need a particular page for your menu.
You can also use these relevant pages so that your business will appear on Google search results. By using the right targeted keywords on these relevant pages, you can boost your website’s SEO and increase your website traffic.
To start with, here are six of the standard relevant pages every website should have regardless of the industry:
- homepage
- product page/service page
- contact page
- about us page
- faq page
- policy page
7 – Add a payment method.
If you’re building a retail or e-commerce website, and your main goal is to make sales, you need to have a payment method or payment system added. Shopify allows business owners to accept credit cards and other payment options such as Shop Pay, Google Pay, Paypal, and Amazon Pay.
You can also use a payment option called AfterPay, allowing customers to pay over time.
Take note that when you set up Shopify Payments, you don’t have to deal with any third-party activations. All you need is to input your banking information and employer IDN/identification number to start accepting payments. Shopify Payments also come with your chosen Shopify Plan.
8 – Publish and test your website.
After creating your website, connect it with the domain, customize your theme, and add all the relevant pages you need. The next thing is to test your website first before publishing it. Run a user experience check and ensure that all the pages and systems are working. Ask for help from a colleague or co-worker to ensure that the website is working correctly and is mobile-friendly.
Once everything is done, you’re sure that your website is working correctly. Only by then can you publish your website and make it live. But remember that it doesn’t end there. You need to continuously improve and develop your website to get more customers and convert leads into sales.
Source: